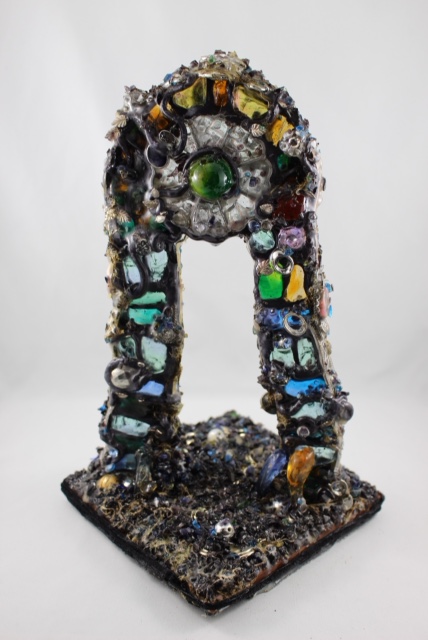
Latest Doorway: Rosetta
Years ago a friend of mine was going through a very difficult time and I wanted to give her something as a gesture of support. I thought - where do you go when the earth is crumbling around you? You stand in a doorway...this led to all sorts of other thoughts about transitions and being on the thresholds of things. I made several doorways over the years until one day about two and half years ago I sat down to make a doorway and ended up with a dozen keys instead.
There's been some interest recently in my doorways and some questions around whether or not they could be put outside...too fragile I thought so I said "no - they are strictly for the indoors." But could I make one to go outside? What would I have to do to make them wind-sun-rain-proof?
Around this time I was incorporating glass from a broken window into my keys. I had an old rosette cookie iron that I filled with that glass and a few beads, covered it in resin, and planned on using as a key. The more I looked at it the more it needed to be part of a doorway...I dug out some of my sculpting supplies and got to work.
I have a small lamp-worked glass studio in my garage. Most people use lamp-worked glass to make beads; I'm more interested in making sculptures. It's been some time since I fired up my torch but I do have unused beads and a collection of glass blocks that I had made. I sought out the glass blocks and also found a failed marble that I used to make "Rosetta".
I started out be placing the glass blocks around the cookie iron. I mixed black, purple, and pink Fimo together to create a softer colour (the black was a bit too stark). This took some time - Fimo is durable but not as easy to knead as Sculpey. I used a pasta machine to mix the colours...faster but still time-consuming (and slightly more so because I couldn't remember where I stored the machine!).
Next I used a combination of Fimo, watch bands, brass joiners, and gel medium to hold it all together prior to baking it in the oven.
After the initial Fimo baking I added some more decorative elements (and Fimo tendrils) and baked everything again.
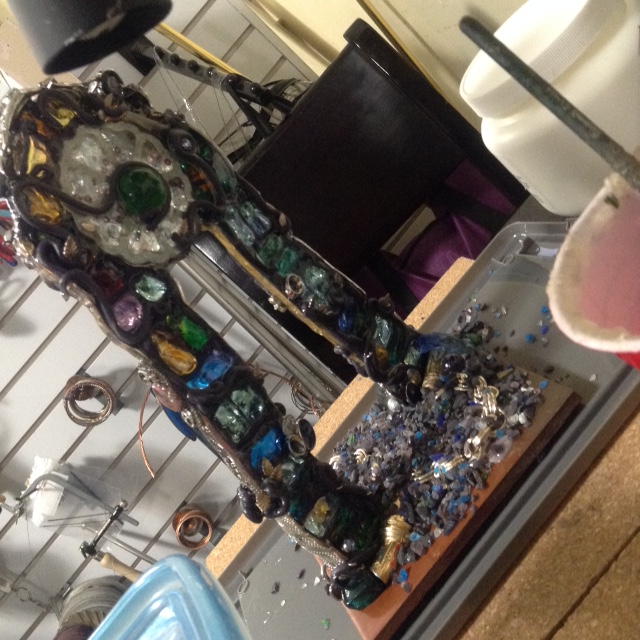
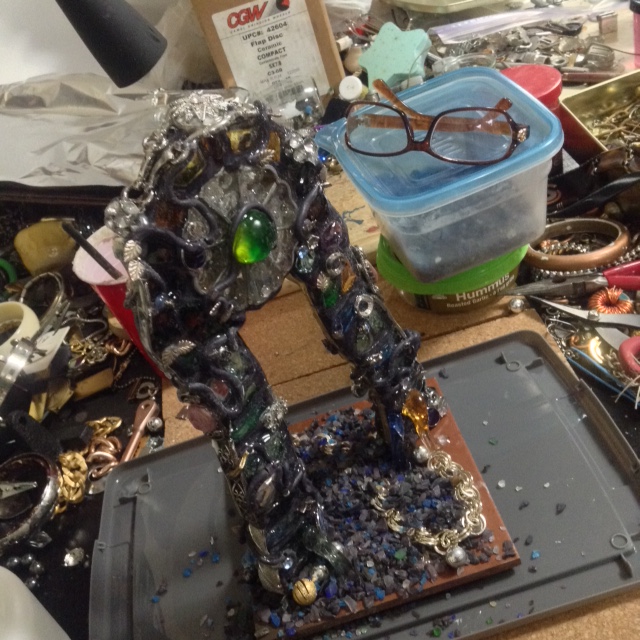
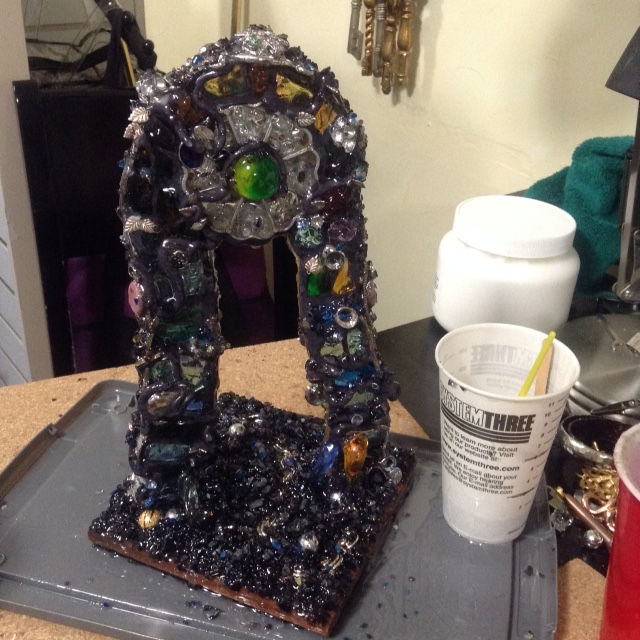
I coated each side with resin and then used some E6000 to glue it onto a tile. I was worried that it would fall over (this piece is quite a big bigger-taller-thinner than some of the previous ones) so I built up some bits around the bottom of each pillar. I used some decorative broken glass to pile on the base and add texture to some parts of the sculpture - partly for strength and partly to tie everything together:
It looks pretty with a light shining behind it:
I added more resin to everything to hold it all together. The end result was a bit too shiny...initially I glued on some lichen - that didn't work (i.e. looked bad) so I ripped off as much as I could and then burned off the rest. Eventually I melted wax on everything to lend a bit of ancient feel to the piece.
I think I'll put it outside somewhere and see what happens...
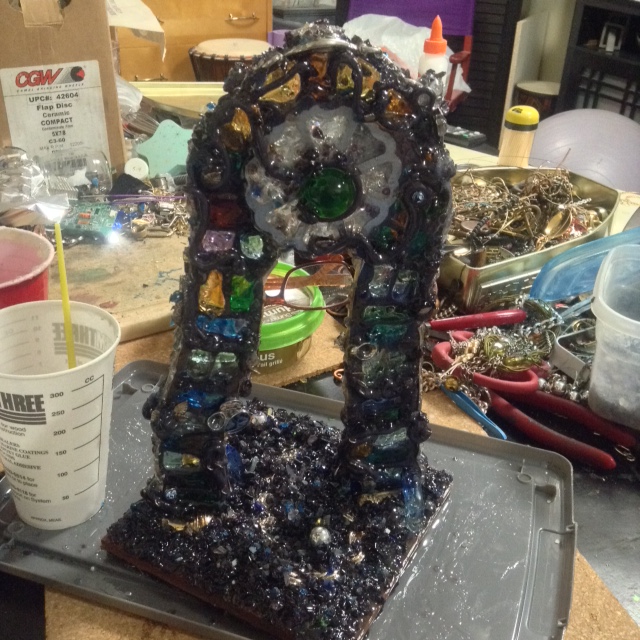
Here are some pictures of the finished piece:


